

Organizing a small kitchen works best when each limited storage area supports a specific action: preparing food, cooking, serving, cleaning, or storing supplies. Put the most-used items close to where they are used, keep heavy and awkward items at comfortable heights, and reserve hard-to-reach space for lighter things needed less often.
By Logan Delaney · Updated July 17, 2026 · 10 min read
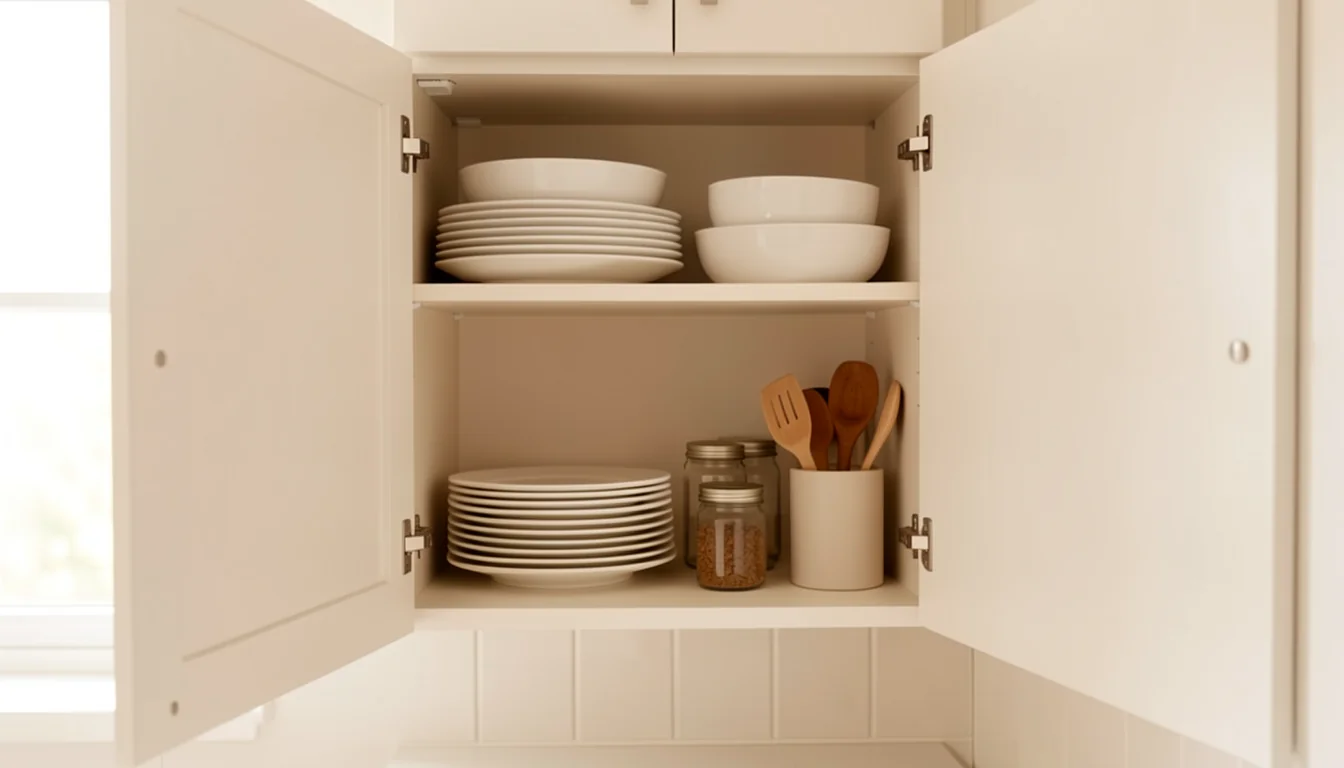
Start by observing your actual cooking routine rather than shopping for organizers. Clear one cabinet or counter section at a time, remove duplicates or expired items only when the decision is straightforward, and test new locations with containers you already own. The goal is less reaching and shuffling, not a kitchen that looks empty.
Key points
- Build zones around actions, even when one cabinet serves several zones.
- Give prime space to items used often, not items that look best on display.
- Measure cabinets and kept items before buying any organizer.
- Protect prep space by limiting what permanently lives on the counter.
- Make shared rules specific enough that everyone can reset the kitchen.
Map your kitchen workflow before moving anything
Draw a simple route through one meal you prepare regularly. Where do you collect ingredients? Where do you wash, cut, cook, plate, and clean? Note every time you cross the room, move an object to reach another, or set something on a chair because the counter is full. Those moments reveal the storage problems worth solving.
A zone does not require a large dedicated cabinet. In a narrow galley kitchen, one drawer may hold the essential prep tools while a nearby shelf holds mixing bowls. A studio kitchenette might combine preparation and serving in the same small area. Think in terms of reach and sequence, not matching storage sets.
Identify the true prime spaces
Prime storage is easy to see and reach from a normal working position. It often includes the front of an eye-level shelf, the upper drawers, and the cabinet nearest the main prep area. Your exact prime zone depends on height, mobility, handedness, appliance placement, and whether children use the kitchen.
Do not automatically place everyday items high because a photograph looks balanced. Keep heavy cookware and frequently used appliances where the intended user can lift them with control. Store child-accessible items deliberately, and keep products or tools that require restricted access according to their labels, manufacturer guidance, and your household’s needs.
Empty and edit in small sections
Work on one drawer, shelf, or narrow counter segment. Remove its contents, clean the surface using a method appropriate for the material, and return only items that fit the zone. Keep the sink and at least one working surface available while you organize; disabling the entire kitchen makes hurried decisions more likely.
Group obvious duplicates and ask whether each earns its storage. Two similar pans may both be useful in a household that batch cooks, while six rarely used utensils may only block the one you reach for. Keep special-occasion tools when they have a real role and their storage cost is acceptable. Small kitchens do not require severe minimalism.
For food, check dates, package condition, and your own use patterns. Follow package directions and applicable official guidance for storage and disposal rather than inventing a rule based on appearance alone. Avoid transferring food to unmarked containers when doing so would remove preparation, allergen, date, or storage information that the household needs.
Assign items by frequency and safe access
Use the table as a starting point, then adjust it to your layout and the people who cook. Manufacturer instructions take priority for appliances, cookware, shelving, and storage products.
| Item pattern | Best zone | Access priority | Small-kitchen tactic |
|---|---|---|---|
| Daily prep tools | Beside the main prep surface | Front of drawer or easy cup if appropriate | Keep a small working set; move specialty tools back |
| Heavy cookware | Near the cooking area | Low to mid-level shelf within controlled reach | Nest only when pieces lift out without a full stack shuffle |
| Everyday dishes | Between serving and cleaning areas | Easy reach for regular users | Store enough for the household’s normal cycle, with extras behind |
| Occasional lightweight tools | Secondary cabinet or upper shelf | Lower priority | Group by activity in one bounded bin |
| Backstock | One defined reserve area | Visible enough to check before shopping | Set a space limit rather than a universal item limit |
Use vertical and deep storage without losing items
Vertical space helps only when objects remain accessible. Shelf risers can separate short stacks of dishes if the shelf can support them and the dimensions fit. Upright dividers may make flat pans easier to remove when installed and loaded as intended. Adhesive, hanging, or over-door products can interfere with hinges, seals, finishes, or rental surfaces, so check product, cabinet, lease, and building instructions before using them.
Give deep cabinets a front and back job
In a deep cabinet, the front should hold frequent-use items and the back should hold a coherent, less-used group. A shallow open bin can bring small items forward, but avoid a heavy container that must be lifted from an awkward position. Labeling is optional; visibility, consistent grouping, and household familiarity may be enough.
Turntables can help with compatible small containers, but they waste space when the cabinet is rectangular and the objects are large. Test the turning radius and access with a plate or repurposed tray before buying one. A product that blocks the door or hides the cabinet corners is not creating useful capacity.
Make stacks easy to interrupt
A stack is efficient only if you can remove a needed item without unloading everything. Keep nesting groups short. Store lids beside their matching cookware when possible, using a stable divider or simple container that fits the pieces. If household members cannot reproduce the arrangement quickly, simplify it.
Clear counters by defining working space
Instead of aiming for bare counters, protect a specific preparation footprint. Mark it temporarily with a cutting board or tray, then remove the marker once the boundary is familiar. Items that stay outside that footprint should be used often enough to justify exposure to splashes, dust, and cleaning.
Evaluate each countertop appliance by frequency, setup effort, weight, and safe storage. A heavy appliance used most days may belong on the counter. A light appliance used monthly may belong in secondary storage. Do not choose a location that blocks ventilation, cords, controls, the sink, or another appliance’s required clearance; follow each manufacturer’s instructions.
Create one small landing area for items that need attention, such as groceries being put away or a container that must be returned. The landing area needs a reset rule and a size limit. Without both, it becomes permanent overflow.
Organize around five everyday activities
Preparation
Keep one reliable cutting surface, the few knives and tools you actually use, and nearby access to bowls or measuring tools. Store sharp tools in a way intended to protect users and edges, considering children and shared access. The most decorative utensil holder is less useful than a drawer that opens fully.
Cooking
Place core cookware and compatible tools near the cooking area without crowding hot surfaces. Oils, spices, towels, and utensils should be stored according to package or manufacturer guidance and away from conditions that could damage them. Keep handles, lids, and pot holders reachable without crossing the busiest path.
Serving
Everyday dishes can live near either the serving point or dishwasher, whichever removes more steps. In a shared home, place commonly used cups or plates where intended users can reach them comfortably. Less-used serving pieces can move to a higher or deeper shelf if they are light and retrieval is manageable.
Cleaning
Keep the sink area simple enough to reset. Limit duplicate brushes and cloths to the amount your wash-and-dry cycle supports. Store cleaning products according to their labels and away from food or vulnerable household members as directed. Do not decant a product if doing so loses essential instructions or identification.
Food and supply storage
Give each broad group a home that is visible at shopping time. Place newer backstock behind or beneath what should be used first when the item and packaging allow. Before restocking, look in the reserve area. This one habit often helps more than adding another shelf.
Make purchasing the final step
Live with the revised zones for at least several normal cooking sessions. Notice what migrates to the counter, which drawer jams, and what no one returns. Those observations tell you whether the problem is location, excess volume, unclear ownership, or a missing tool.
If a purchase still appears useful, measure cabinet width, depth, height, door clearance, hinges, and the objects the product must hold. Set a spending limit before browsing. People managing variable cash flow can adapt the principles in budgeting with irregular income so organizers do not displace more important expenses.
Planned replacement is different from impulse organizing. If an essential appliance is aging or a storage repair is foreseeable, a sinking fund for planned expenses can create room in the budget without treating every inconvenience as an immediate purchase.
Set rules for a shared small kitchen
Shared kitchens need visible agreements, not one person silently maintaining a complex layout. Decide what “reset” means after cooking: perhaps food stored appropriately, prep surface available, dishes placed in the agreed wash cycle, and tools returned to their zone. Assign ownership for recurring checks rather than expecting one person to notice everything.
Give each person some flexible space for preferred foods or equipment when possible. Roommates can agree on which shelves are shared and which are individual. Families can place safe, age-appropriate items where children can participate. Accommodate seated cooking, limited reach, sensory needs, and left- or right-handed use instead of enforcing visual symmetry.
A realistic example: weekend reorganization
Consider a renter with six cabinets, two drawers, and a short counter. Their daily coffee equipment occupies the main prep area, pans require unloading a full stack, and food backstock is spread across three cabinets. They choose one goal: make dinner preparation possible without moving the coffee setup.
First, they move coffee supplies together onto a small existing tray at one end of the counter. Next, they keep two frequent-use pans in the easiest lower cabinet and move a lightweight specialty pan to an upper shelf. They consolidate unopened backstock into one cabinet section and place current items in front. A rarely used serving bowl becomes the container for packet-sized pantry items rather than prompting a new purchase.
After a week, the coffee tray stays put, but one pan still catches on the shelf. The renter measures the cabinet and adds a compatible divider only after confirming it will not alter the cabinet. The result is not more storage; it is fewer interruptions within the storage they have.
Common organizing mistakes
- Buying before measuring. Organizers consume space and may block doors, plumbing, or hinges.
- Prioritizing matching containers. Uniform containers can hide important information and create unnecessary transfers.
- Putting every item in prime space. When everything is easy-access, nothing is; rank by actual frequency.
- Creating unstable tall stacks. Maximum density is not useful if retrieval feels risky or requires unloading the cabinet.
- Ignoring the closing routine. A layout fails when it takes too many steps to restore after cooking.
- Organizing for one person only. A system should account for the people who actually prepare food, wash dishes, and put groceries away.
Frequently asked questions
Where should I start when every cabinet is full?
Start with the cabinet closest to your main prep area and one meal you make often. Create enough room for that workflow before tackling low-use storage. Move only items with a clear destination so another cabinet does not become overflow.
How can I organize a small kitchen without a pantry?
Dedicate part of one cabinet, a suitable freestanding unit, or another appropriate food-storage area to broad categories and backstock. Keep the reserve bounded and visible. Check lease, building, furniture, and product instructions before adding or altering storage.
Do I need matching containers?
No. Original packaging often preserves useful directions and identification. Use containers when they solve a specific access or containment problem, and choose options compatible with the contents and intended use.
How often should I reorganize?
Reorganize when the kitchen’s use changes or repeated friction shows the current system is failing. Small resets after shopping or cooking may be enough; there is no universal interval.
Final takeaway
Organizing a small kitchen is an exercise in prioritizing movement and access. Map a real meal, give prime space to frequent tasks, keep stacks interruptible, and protect one working surface. Test the layout before buying products, then make only the change that solves an observed problem.

Logan Delaney is the staff byline for Cactos New Hub guides on personal finance, smart shopping, personal style, and everyday decisions. Articles under this byline are reviewed for clarity, usefulness, and internal consistency before publication.