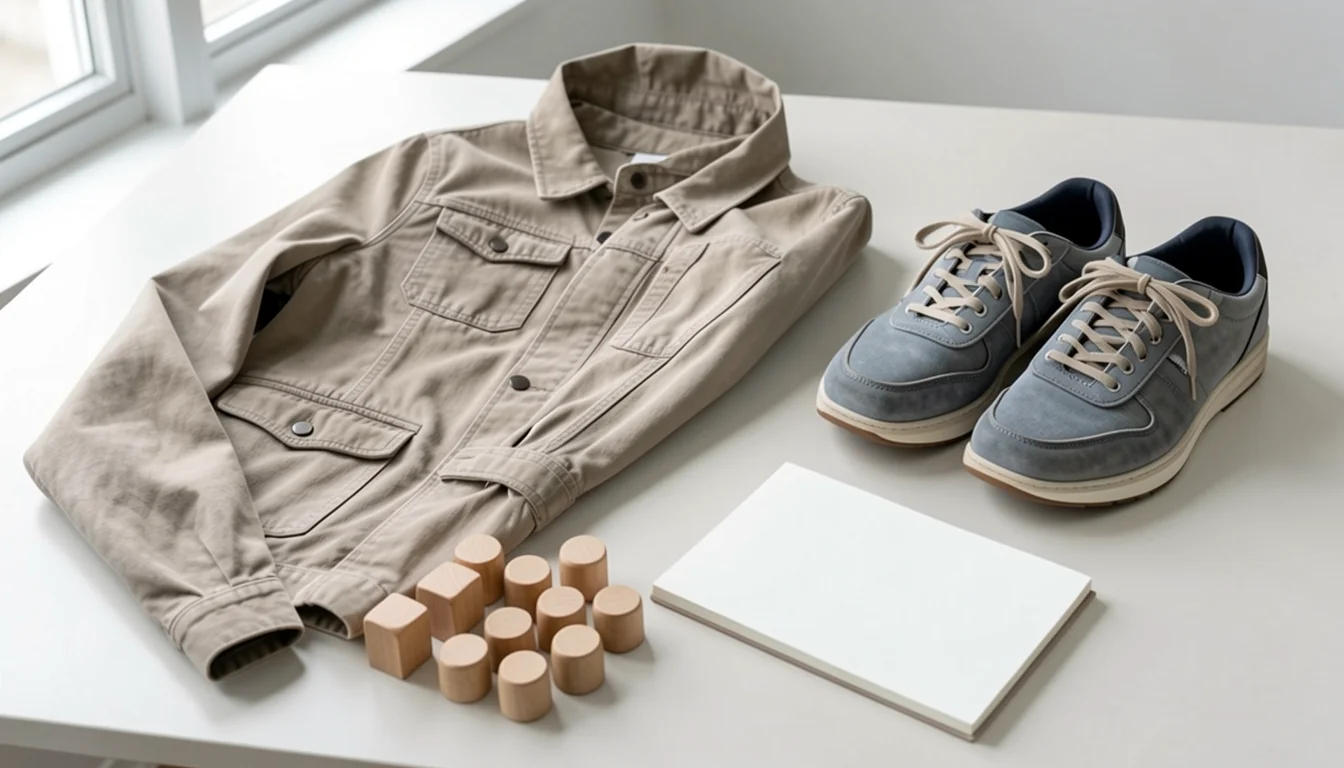


To make clothes last longer, reduce the stress they experience between wears: unnecessary washing, high heat, heavy friction, lingering moisture, untreated stains, and storage that stretches or crushes the garment. Start with the care label, clean an item only when it needs cleaning, use the gentlest effective process allowed by that label, and repair small problems before they spread.
By Logan Delaney · Updated July 17, 2026 · 10 min read
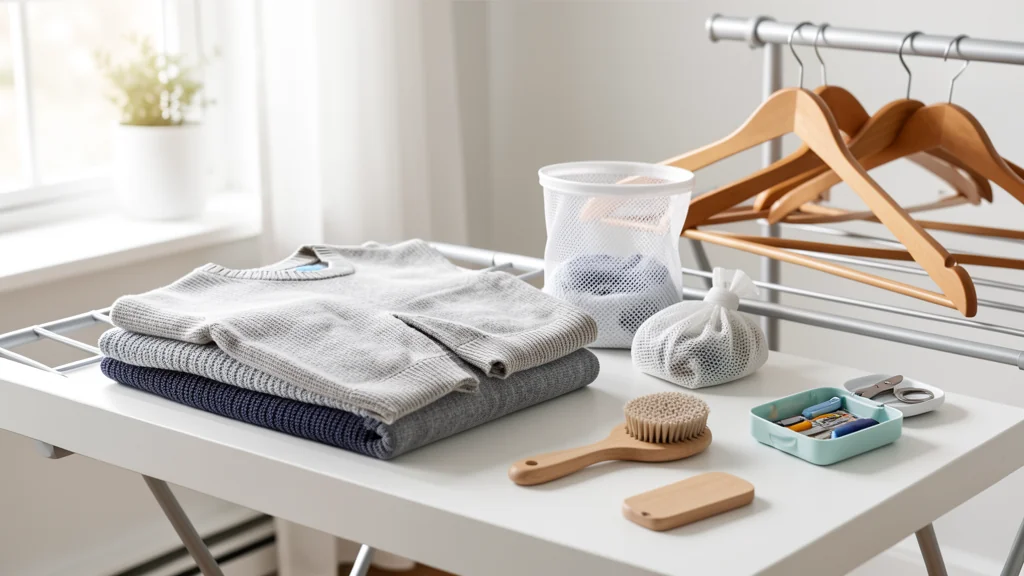
A practical routine does not require specialty products or a perfect laundry room. It requires a few repeatable decisions: inspect before washing, sort by care needs rather than color alone, fasten or protect vulnerable details, dry with shape in mind, and put clean clothes away only when fully dry. Fabric construction, dyes, finishes, trims, and garment design vary, so the sewn-in label—not a broad rule about a fiber—controls.
Key points
- Follow the garment’s label and choose the least aggressive allowed method that still cleans it.
- Wash based on soil, odor, and use rather than automatically after every brief wear.
- Limit excess heat, friction, stretching, and damp storage, which can create avoidable wear.
- Blot stains, check results before drying, and avoid improvising with an untested treatment on a visible area.
- Fix loose buttons, open seams, and small snags early, before a simple repair becomes a larger one.
Why clothes wear out faster than expected
Most visible aging is cumulative. Fibers rub against other garments and the washer; elastic repeatedly stretches; color faces detergent, water, light, and abrasion; and dryer heat acts on the entire garment, including thread, interfacing, prints, and trim. One cycle may look harmless, yet a needlessly harsh routine repeated many times can speed fading, fuzzing, distortion, or failure at a stressed seam.
Wear is not caused by laundering alone. A coat hung while wet can pull out of shape. A knit left on a narrow hanger can develop shoulder bumps. Shoes and bags can abrade the same patch of a garment every day. Perspiration, body oils, food, cosmetics, and road salt may become harder to remove when ignored. The useful question is not “How do I prevent all wear?” but “Which avoidable stress can I remove without making care impractical?”
Read the care label before choosing a method
For a detailed symbol reference, learn how to read clothing care labels before changing your routine. Check the full garment, because a label may be hidden in a side seam or pocket. Read written qualifications such as “with like colors,” “reshape,” or “do not iron decoration”; the main wash or dry symbol is not the whole instruction.
The US Federal Trade Commission’s guidance on the Care Labeling Rule says manufacturers and importers covered by the rule must attach care instructions before sale and must have a reasonable basis for them. That basis may come from reliable evidence such as technical literature, past experience, industry expertise, or testing. It does not tell shoppers that every finished garment was individually tested, nor does it make a generic fiber rule override the attached instruction.
A care label gives instructions for ordinary care. When no cleaning method can be recommended without harming the garment, the label must warn that it cannot be washed or dry-cleaned. If an item offers both washing and dry cleaning, you may choose between them; if it gives only one method, do not assume the omitted method is safe. Ask the maker or a qualified cleaner when an instruction is missing or genuinely unclear.
Wash only when the garment needs it
After wearing an item, inspect the collar, cuffs, underarms, seat, and any area that touched food or the ground. If it is clean, dry, and odor-free, airing it in a ventilated place may be enough before another wear. Underwear, socks, workout clothes, and visibly soiled pieces normally need more frequent cleaning than an outer layer that had little skin contact. Personal hygiene needs and the label still come first.
Do not return a damp or sweaty garment directly to a closed hamper or closet. Let moisture dissipate first, unless the stain needs immediate action. Overfilling a hamper also hides stains and compresses damp fabric. A small “inspect or treat” basket can separate items that need attention from ordinary laundry and prevent an oil spot from reaching the dryer unnoticed.
Reduce friction during washing
- Sort by treatment. Separate delicate or low-agitation pieces from towels, denim, and garments with rough hardware. Also consider lint, soil level, color transfer risk, and required temperature.
- Prepare the garment. Empty pockets, close zippers and hook-and-loop fasteners, loosen drawstrings if the label permits, and turn printed or dark pieces inside out when appropriate.
- Protect vulnerable items. A correctly sized mesh bag can keep straps, hooks, lace, and lightweight knits away from snagging surfaces. It does not make a prohibited machine wash safe.
- Leave working room. A tightly packed washer can limit rinsing and force clothes to rub in a dense mass. Follow the machine and detergent directions rather than estimating by habit.
Use the cycle named on the label. “Gentle” usually reduces mechanical action, but machine settings differ, so review the washer manual if the controls are vague. Avoid treating a short cycle as automatically gentler: a short setting may still use brisk agitation or a fast spin.
Choose temperature and detergent with care
Water temperature should agree with the garment label and the cleaning job. Cooler water can be suitable for many routine loads, but it is not universally correct; some soils, hygiene situations, detergents, or labeled instructions call for another temperature. If a new item may release dye, keep it away from pale garments and follow any separate-wash wording.
Measure detergent for the machine type, load, water conditions, and product concentration. More detergent is not a shortcut to cleaner clothes. Excess can be difficult to rinse and may leave fabric feeling stiff or looking dull. Fabric softener, bleach, scent boosters, and stain additives are optional treatments, not default requirements. Confirm that the label allows the relevant bleach type, and consider how any additive interacts with stretch fibers, coatings, flame-resistant finishes, or moisture-wicking treatments.
Dry with heat and shape in mind
Before moving a load to the dryer, check stains and untangle pieces. Dryer heat can make some stains more difficult to remove, so re-treat while the mark is still visible and follow the product and garment directions. Select the labeled dryer setting and remove items when dry rather than repeatedly extending the cycle. An automatic sensor can help, although bulky seams and mixed fabric weights may dry unevenly.
Air-drying is useful only when the label permits it and the garment is supported correctly. Smooth seams, collars, and plackets before drying. Lay items flat when hanging would cause stretching; hang sturdy pieces on a shape-appropriate hanger or line position. Keep dyed garments out of prolonged strong sun if fading is a concern. Provide airflow, and never fold or store an item that still feels cool and damp in a thick area.
Care habits by garment type
| Garment | Before cleaning | Drying choice | Storage choice | Warning sign |
|---|---|---|---|---|
| T-shirt | Check underarms, print, and label; turn inside out if appropriate | Use labeled heat or air-dry without distortion | Fold or hang with adequate support | Twisted seams or a print beginning to crack |
| Sweater | Remove surface debris and protect from snagging | Reshape and dry as directed, often with broad support | Fold loosely when hanging would stretch it | Shoulder bumps, pulled loops, or damp odor |
| Jeans | Inspect hems, pockets, hardware, and concentrated soil | Follow labeled temperature; avoid needless extra heat | Fold or hang from a stable point | Fraying hem or a zipper rubbing another item |
| Blouse or shirt | Address collar, cuffs, cosmetics, and buttons | Remove promptly and shape the placket | Use a smooth hanger with breathing room | Loose button or seam strain near an armhole |
| Structured jacket | Brush surface soil and check lining and trim | Use only the professional or home method stated | Use a broad hanger; do not crush | Rippling interfacing or a distorted lapel |
Treat stains without spreading damage
Act promptly, but do not scrub automatically. Lift solids gently, blot liquid from the outside toward the center, and place an absorbent cloth behind the area when appropriate. Identify both the stain and the garment’s care limits before applying a product. Test colorfastness in an inconspicuous place according to the treatment directions, especially on dark dye, prints, coated fabrics, or mixed-material garments.
Do not combine cleaning chemicals, and never mix chlorine bleach with ammonia or acids. Rinse or launder as instructed, then inspect under good light before adding heat. For valuable, structured, color-unstable, or unfamiliar pieces, a professional cleaner may be the lower-risk choice. Tell the cleaner what caused the stain and what has already been applied.
Store clothes without stretching, fading, or trapped moisture
Put clothes away clean and fully dry. Choose hangers that support the garment’s width and weight; avoid wire or sharply edged hangers for pieces they can distort. Fold heavy knits, close fasteners that might catch neighboring fabric, and give structured garments enough space to retain shape. Keep storage away from active leaks, prolonged direct sun, and surfaces that can transfer color or residue.
For seasonal storage, inspect every item first. Remove food and body-oil residue, make repairs, and use a clean container suitable for the space. Avoid sealing in moisture. Periodically check long-stored garments for odor, pests, or water intrusion rather than assuming a closed box is protective. If building a smaller rotation would make care easier, the guide to building a versatile wardrobe on a budget can help you prioritize useful pieces.
Make small repairs before they become large
- Secure a loose button: match the original placement, avoid pulling the thread so tight that fabric puckers, and reproduce any thread shank the garment needs.
- Close a short open seam: use compatible thread and follow the existing stitch line, without sewing through a pocket or lining by mistake.
- Stabilize a starting hem: repair the loose section before it catches under a shoe or in the wash.
- Manage a snag: do not cut a pulled loop immediately; ease it toward the reverse side or ask a tailor when the structure is unfamiliar.
- Replace a simple fastener: a missing hook or failed snap may be inexpensive to fix, but reinforced areas and technical closures may need specialist tools.
Stop if the repair would change fit, damage waterproofing, pierce a membrane, or require opening complex lining. A tailor, cobbler, alterations specialist, or manufacturer repair service may preserve more value than a confident but unsuitable home fix.
Common care mistakes to avoid
- Using one hot, high-agitation cycle for every garment because it feels more thorough.
- Assuming all garments with the same fiber percentage can be cared for identically.
- Leaving zippers, hooks, pens, tissues, or abrasive items loose in a load.
- Applying more detergent or stain remover than the product directs.
- Drying a stain before checking whether it came out.
- Hanging a wet heavy knit by narrow shoulders or folding a garment while damp.
- Ignoring a loose seam, broken zipper stop, or frayed hem until the damaged area expands.
A low-effort weekly process
- After wear, air dry anything damp and separate obvious stains or repairs.
- On laundry day, read labels and make treatment groups before loading the machine.
- Prepare pockets and closures, measure products, and choose the labeled cycle.
- Check stains before drying, then dry each group with suitable heat and support.
- Fold or hang promptly; place repairs in a visible container with basic supplies.
- Spend ten minutes once a week on one button, hem, snag, or storage adjustment.
Frequently asked questions
Should clothes always be washed inside out?
No. Turning some printed, embellished, or dark garments inside out may reduce direct surface abrasion, but pockets, heavy soil, construction, and label directions can change the best approach. It is a useful option, not a universal rule.
Is air-drying always better for clothes?
No. It avoids tumble action and dryer heat, but poor support can stretch a garment, strong sun may affect color, and slow drying can leave thick areas damp. Follow the label and choose the method that supports the item’s shape.
Can I wash something if the label only says dry clean?
Do not assume so. Fiber content alone does not account for interfacing, dye, trim, lining, or construction. Follow the stated method or ask the manufacturer or a qualified cleaner before experimenting.
Final takeaway
Longer garment life comes from ordinary decisions made consistently: read the label, clean only as needed, reduce avoidable friction and heat, dry with the garment’s shape in mind, store it clean and dry, and repair small failures early. No routine guarantees a lifespan, but removing repeated, unnecessary stress gives each piece a better chance to remain wearable.

Logan Delaney is the staff byline for Cactos New Hub guides on personal finance, smart shopping, personal style, and everyday decisions. Articles under this byline are reviewed for clarity, usefulness, and internal consistency before publication.